Saturday, November 30, 2013
I'm Not Gay, But I Do Love Rainbows


Sunday, October 27, 2013
Just Need Paint and an Outtage
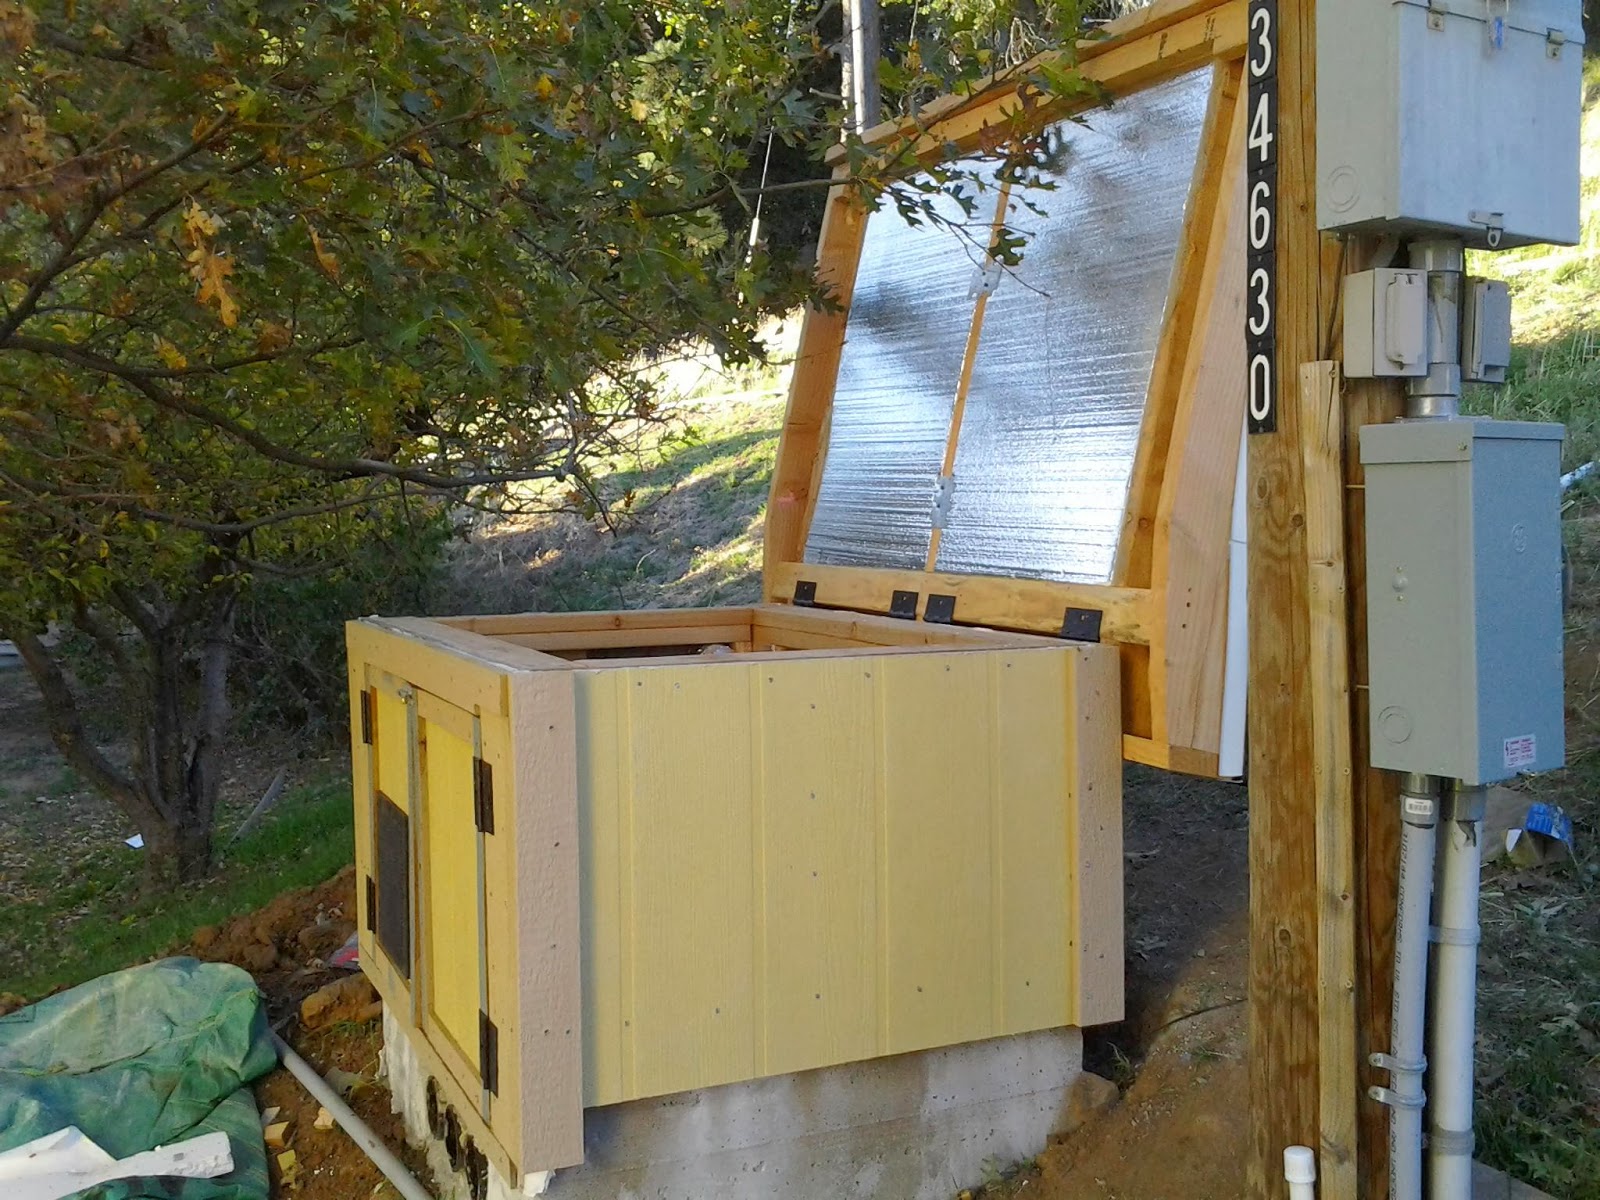
Got the generator box all finished. It really is quiet and runs cool. It's about as loud as the fridge inside the cottage. Plumbed to propane so the gas won't ever go bad. The roof is hinged in case the electric start fails and you have t

 o pull start the thing.
The exhaust is a water heater flue pipe wrapped in glass wool insulation then wrapped in aluminum high temp tape. I re-did the exhaust, it's double walled pipe going through the wall and extending out 12"---I was worried about exhaust heat so close to the fascia.
o pull start the thing.
The exhaust is a water heater flue pipe wrapped in glass wool insulation then wrapped in aluminum high temp tape. I re-did the exhaust, it's double walled pipe going through the wall and extending out 12"---I was worried about exhaust heat so close to the fascia.

 o pull start the thing.
The exhaust is a water heater flue pipe wrapped in glass wool insulation then wrapped in aluminum high temp tape. I re-did the exhaust, it's double walled pipe going through the wall and extending out 12"---I was worried about exhaust heat so close to the fascia.
o pull start the thing.
The exhaust is a water heater flue pipe wrapped in glass wool insulation then wrapped in aluminum high temp tape. I re-did the exhaust, it's double walled pipe going through the wall and extending out 12"---I was worried about exhaust heat so close to the fascia.
Wednesday, October 16, 2013
Sound In, Heat Out
The challenge is keeping the sound in and the heat out. I made an adapter coming off the muffler so I could channel the exhaust out of the box. I suppose I could get a better pic of how the adapter attaches; I wrapped the elbow with high temp aluminum tape for insulation and to keep the elbow from sliding around. The interior is all lined with foam board. The walls that face the house, have the studs turned sideways--that way there's room for insulation and sound transferring lumber doesn't go all the way through the wall.


Wednesday, October 9, 2013
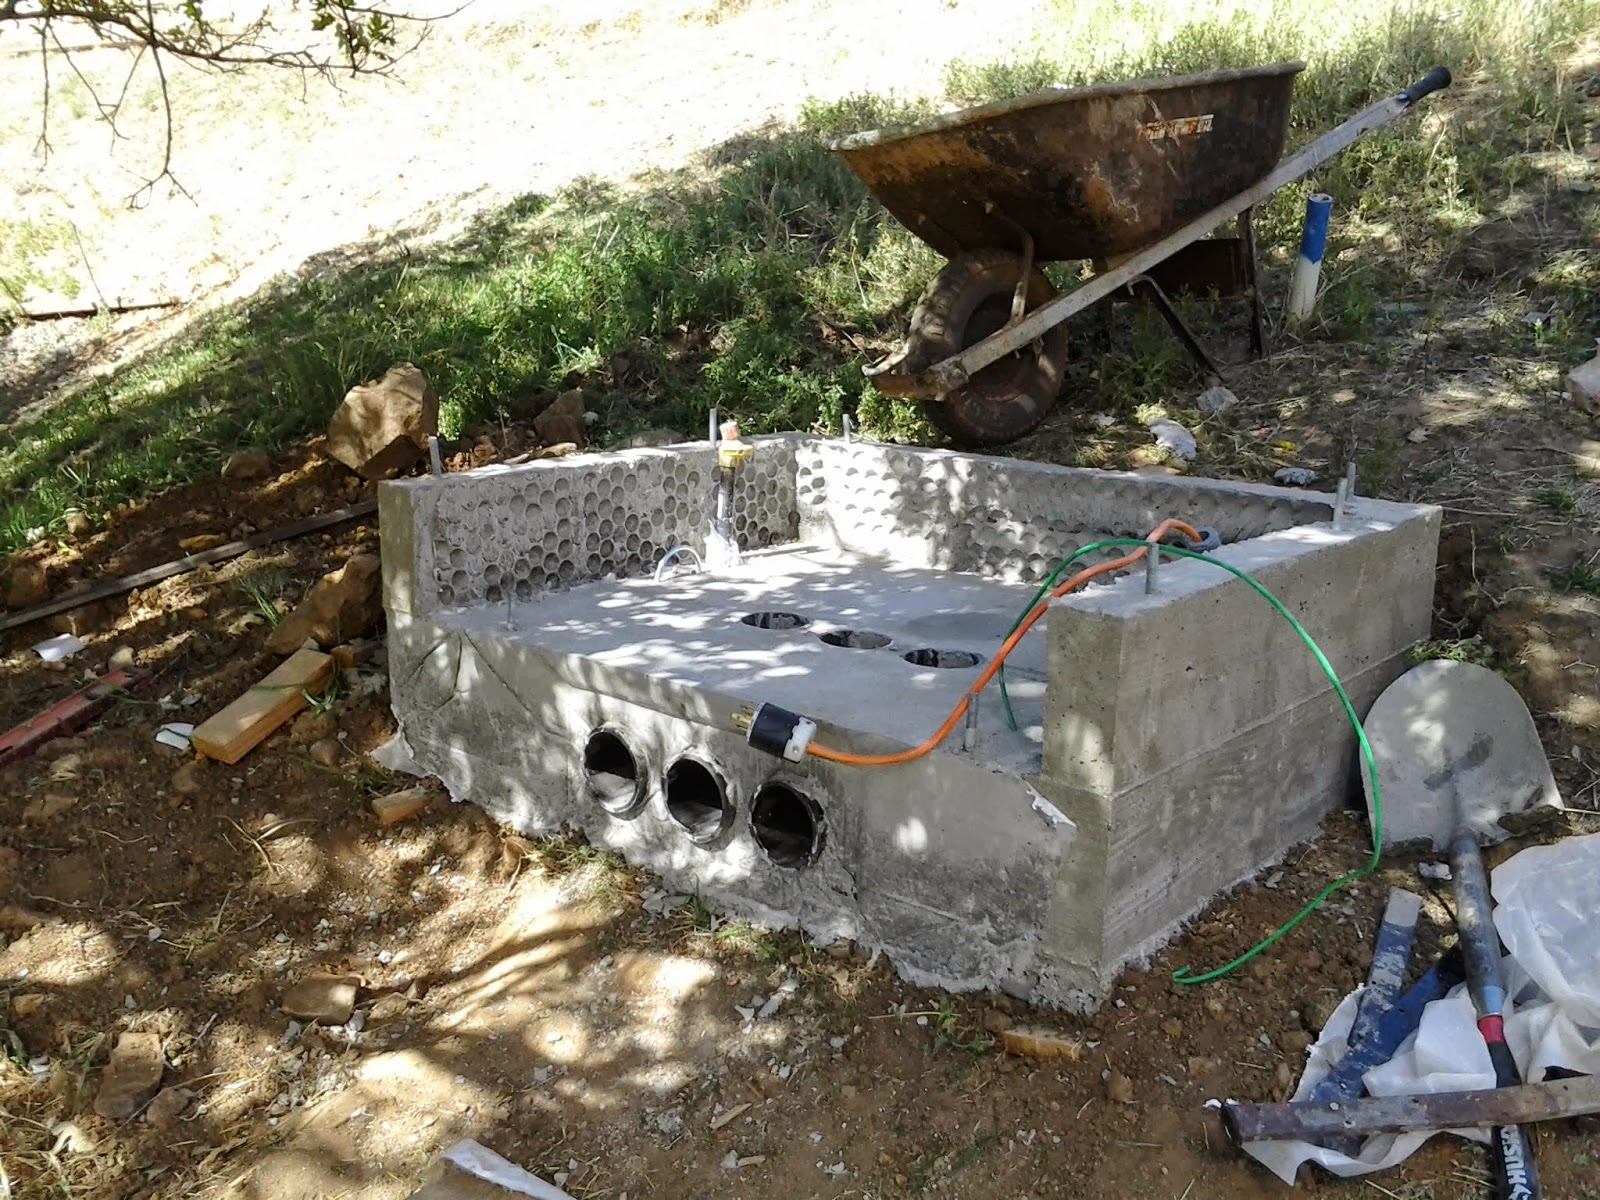
Power Foundation

Saturday, October 5, 2013
Generator Base

Thursday, September 19, 2013
Talkin' 'Bout My Generator
 |
| Here's the trench. I want everything nice and hidden. There's this dark olive green pipe dope I've had great success with for the joints; I'll admit that getting threads started on 10' pipe isn't easy. |
 |
| It seemed like I was going way too small with the wires from the generator, especially after wrestling with 6 AWG. THe tables assure me 10 AWG is plenty for the short run and voltage I'm feeding. Good thing, too---pulling that wire was hard. |
 |
| Here's the form so far. It still needs to be leveled and the rebar/anchor bolts pre-set. I've got 1800 pounds of concrete mix in the back of my truck all ready to mix but I had to quit to get to Patrick's soccer game. If it doesn't rain in the next 6 days while I'm working a 144 hour shift, it'll be fine. Then I have to build the actual housing which should be simple |
Sunday, September 15, 2013
Projected Projects Project

Well, nature bats last. We had some flashfloods last week---over a foot of rain. It channeled down the trench for the power, and filled the future laundry room with some very rich soil. It's not too bad really and my tenants are going to dig it out and use the soil elsewhere.
It's a reminder that winter is coming. This project will get backburnered a bit while I take care of some pre-winter projects----gathering firewood is one. The other is the generator project.
AnnaMarie's cottage was built to accept a small generator as backup power. We get power outtages all the time--hot weather, windy weather, snow. I finally found the generator I wanted---5,000 watts continuous, CARB compliant, electric start, dual fuel, 240v. I'm plumbing it to the house propane cylinder which, if full, will provide about three weeks worth of fuel. That should get us through anything. I want it easy enough that if I'm gone AnnaMarie can just turn a key and flip a switch. It was more complicated than I thought---geting the correct inlet pressure through the correct size pipes and all.

Thursday, August 15, 2013
Another Slip Up


Here's the slip form. The rebar is in place and the forms are lined with plastic for a smooth finish. This is the threshold, and the rough opening for the steel door is 34" wide so I have a 34" board holding things in place. The continuous pour extends well past the doorway to prevent water leakage. You can see the stub end of a carriage bolt stuck through the form----those will be set in concrete and give me something to secure the doorframe with later. Here's a better picture from the other side---

So now you're looking inside the form just pre-pour. That bolt will be well embedded in the concrete. I'll put one every 24".

Here's a yard of concrete, mixed in my mixer, wheelbarrowed over, and dumped in the form one shovel at a time--along with much tamping and vibrating the form in the hopes of having no voids or honeycombing. The plastic lining really helps the concrete slide into place. It'll also make stripping the form easier.

The first pour is the easiest. The next one I'll have to lift the shovel up higher---doesn't sound like a big deal, but it makes a difference. Then the next pour gets more complex with the forming because I will be past the outer soil form and have to build an outer wooden one and support it; but, I'll be able to pour from above which will make things easier.
Friday, August 9, 2013
More Floor Pour

Ready to pour the floor. A vapor barrier is down but it has a gap over the french drain---vapor barriers work both directions, and I want water to be able to drain down. This IS a laundry room after all.
AnnaMarie came to keep me company for awhile, and was productive being creative with acorn caps.

Here's the floor all poured. Next will be building the slip forms.

Sunday, August 4, 2013
Slip Form
It's been awhile since I've updated things---I've been stuck at work a lot so progress has been slow....The hand digging is mostly done so got the rough plumbing and french drain in.


Tuesday, June 11, 2013

Subscribe to:
Posts (Atom)